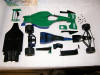
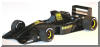
I started this project using a
Minichamps Jordan 191, 1:18 scale Michael Schumacher "Donor"
car.
It was completely dismantled.
Care must be taken when removing the seat, front wheel, steering
assembly so as not to break it. (Click on the Thumbnails to
enlarge the picture.)
As this is a Minichamps model
the decals can be removed very easily. Just lift the corner of
the decal with a modeling knife and peal off with a pair of
tweezers. Some of the "Decals" are not decals and are
painted on. These are fairly easily removed with acetone (nail
polish remover) dipped "Q-tips".
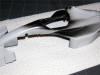
Once all markings were removed
I sanded the parts so the undercoat would take better. I also
defined the body panels better using a scriber (from Micro
Mark).
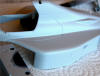
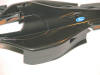
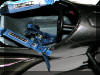
Here you can see the
definition around the air box. Where the panels would separate.
The care in detail at this stage will really show in the
finished model.
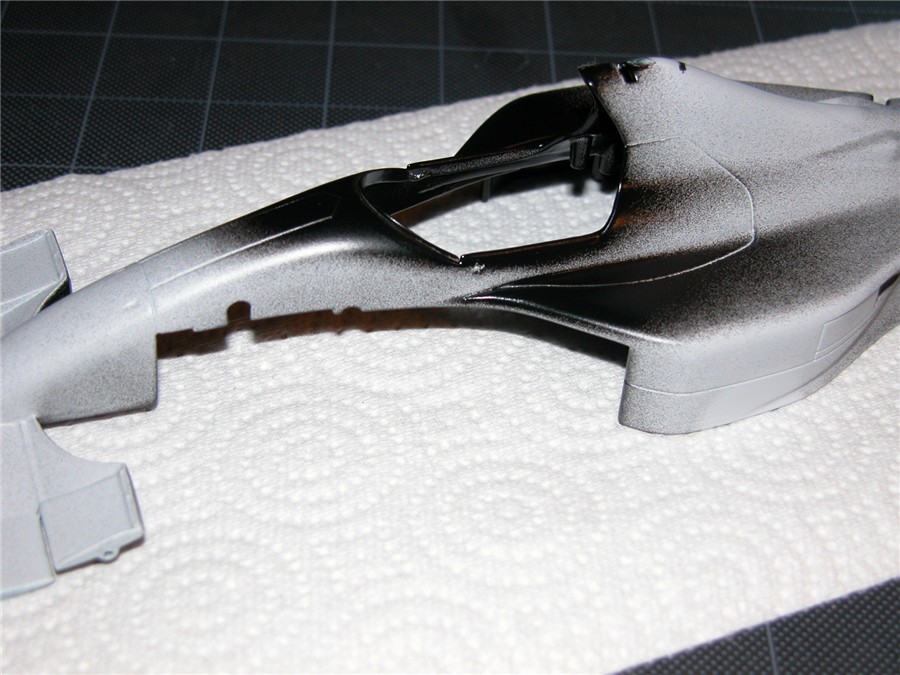
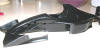
From this stage the body is
sanded again and given another coat of undercoat. I used
Tamiya "Fine Surface Primer" Spray, light gray.
I left the parts once they had
the final undercoat, for 48 hours before continuing to the next
stage, which was to spray the exposed edges of all body parts
with a semi gloss Black paint.
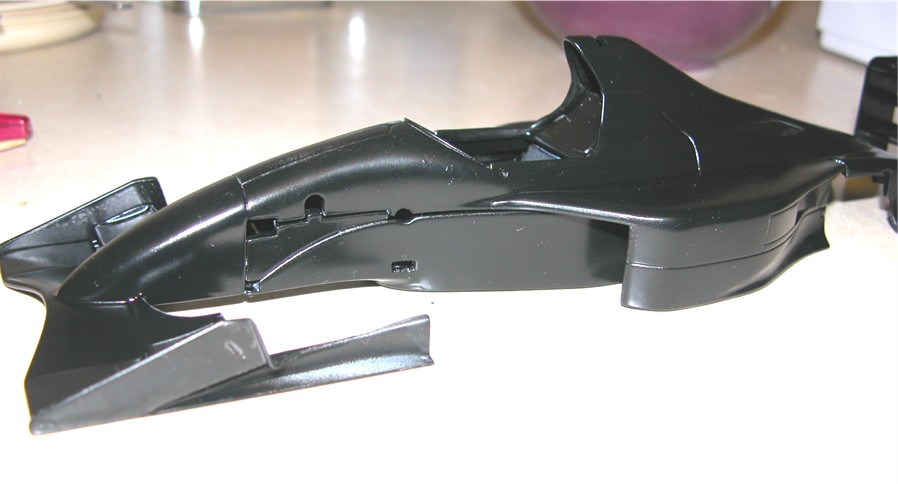
This is so there is more
coverage on the edges when sanding the body again. I then spray
all the parts again with semi gloss black. This is helpful for
when the Carbon decals are applied.
As every part of the car will
be Carbon fiber some edges will not get covered with the decals
or it will look strange. With the black paint it looks more
realistic. The body will have to be "Dry" assembled when
applying the Carbon decals.
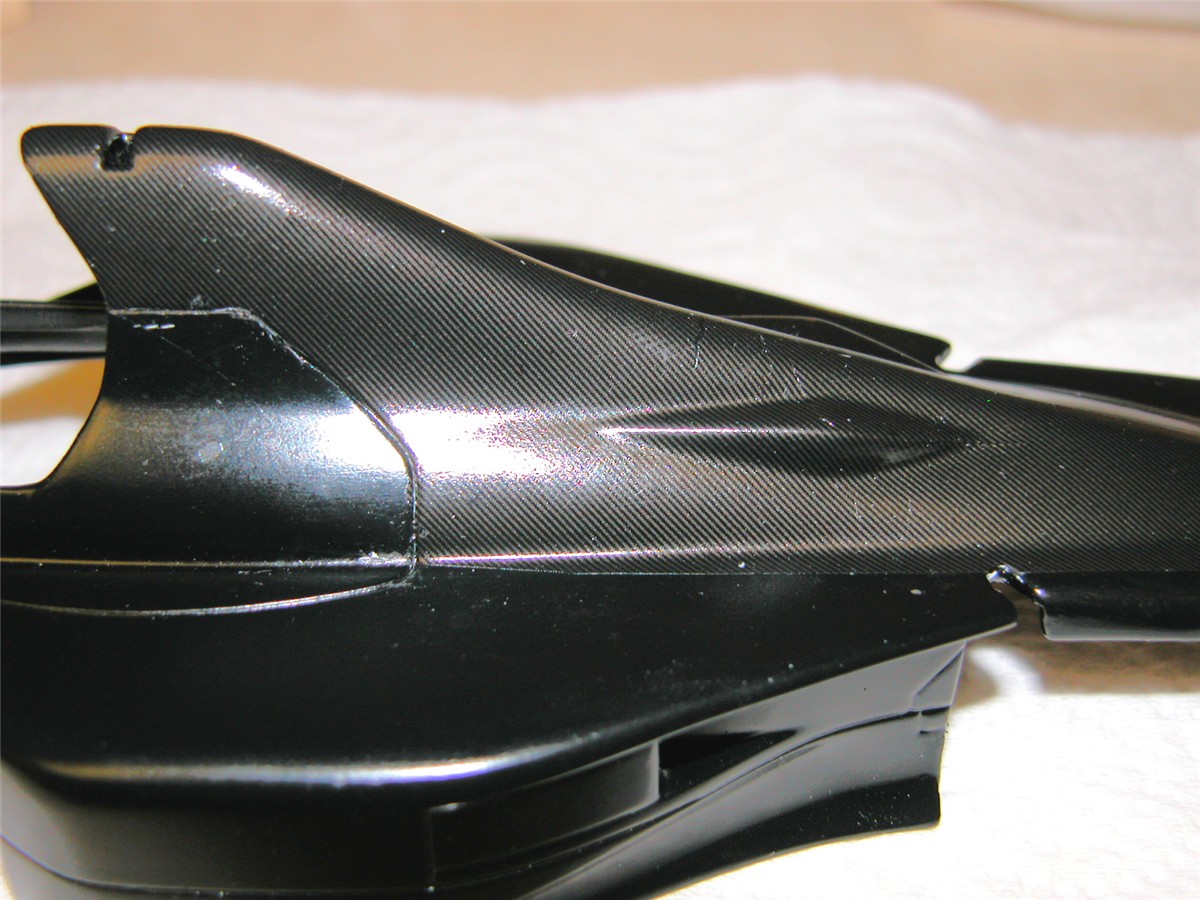
 At
this stage I scribe the extra lines needed to distinguish the
Carbon panels as the car was constructed. At
this stage I scribe the extra lines needed to distinguish the
Carbon panels as the car was constructed.
I made templates using masking
tape for each of the panels and transferred them to the Carbon
decals (which for this project are produced by "Renaissance"
which are excellent). I did actually run out of the Carbon
decals during this project and after a few months found an
excellent substitute made by "F1 Specialties" in Nevada. If all goes well, the first
application should look something like this.
 It is important to
make sure the Carbon flows in the correct direction. (This is
where decent reference photographs come in very handy.) I spent
approx. $80.00 on photographs from "Sutton" to get the views I
needed. Also the "Formula Perfect Manual Series Vol. 3"
was of great help and even greater help on the Tamiya 1:20 scale
FULL Detail model I am working on. It is important to
make sure the Carbon flows in the correct direction. (This is
where decent reference photographs come in very handy.) I spent
approx. $80.00 on photographs from "Sutton" to get the views I
needed. Also the "Formula Perfect Manual Series Vol. 3"
was of great help and even greater help on the Tamiya 1:20 scale
FULL Detail model I am working on.
I use "Micro Sol" diluted with
water on the body, for applying decals. (I have discovered this
mix allows more freedom [read longer] to position the
decal.) Then I use a soft paintbrush and undiluted Micro Sol to
aide in conforming to the bodywork. When it is almost fitted,
just some small wrinkles, I then use a hair drier, which makes
the decals act a bit like "Heat Shrink Tubing" when the hot air
blows over it. Test it out before doing it for real on your
projects. Results are excellent.
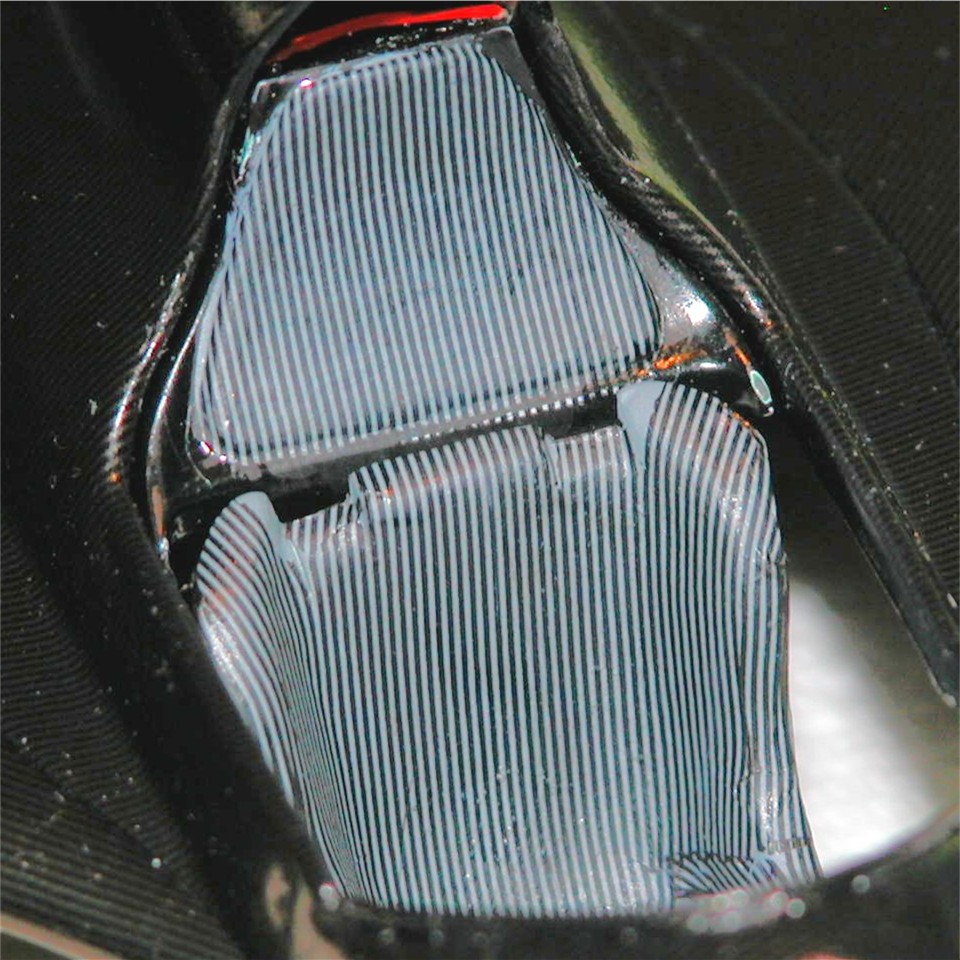
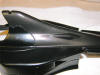
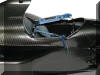
 You
can see the results here with the Carbon flowing in different
directions on the different panels. This picture actually shows
the bodywork with the "Clear Coat" already applied and the Ford
decal applied on top of that. I use "Future" clear floor
polish. The Carbon decals absorb the first coat and I generally
apply another two coats after that. You
can see the results here with the Carbon flowing in different
directions on the different panels. This picture actually shows
the bodywork with the "Clear Coat" already applied and the Ford
decal applied on top of that. I use "Future" clear floor
polish. The Carbon decals absorb the first coat and I generally
apply another two coats after that.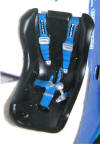
Moving on to the modifications
to the seat. Once the seat was removed, I removed the molded-in
seat belts using a Dremel with an engraving cutter, finally
smoothing it with wire wool and sandpaper.
I applied a coat of Gray paint
to the seat and then used "Scale Motorsports" diagonal
strip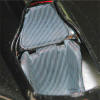 e
decal "1974" but applied it straight. The decal has a
glossy finish and had to be clear Flat coated with "Model
Masters Flat Clear Lacquer Finish" to get the correct look.
As you can see the head restraint received the same treatment. e
decal "1974" but applied it straight. The decal has a
glossy finish and had to be clear Flat coated with "Model
Masters Flat Clear Lacquer Finish" to get the correct look.
As you can see the head restraint received the same treatment.
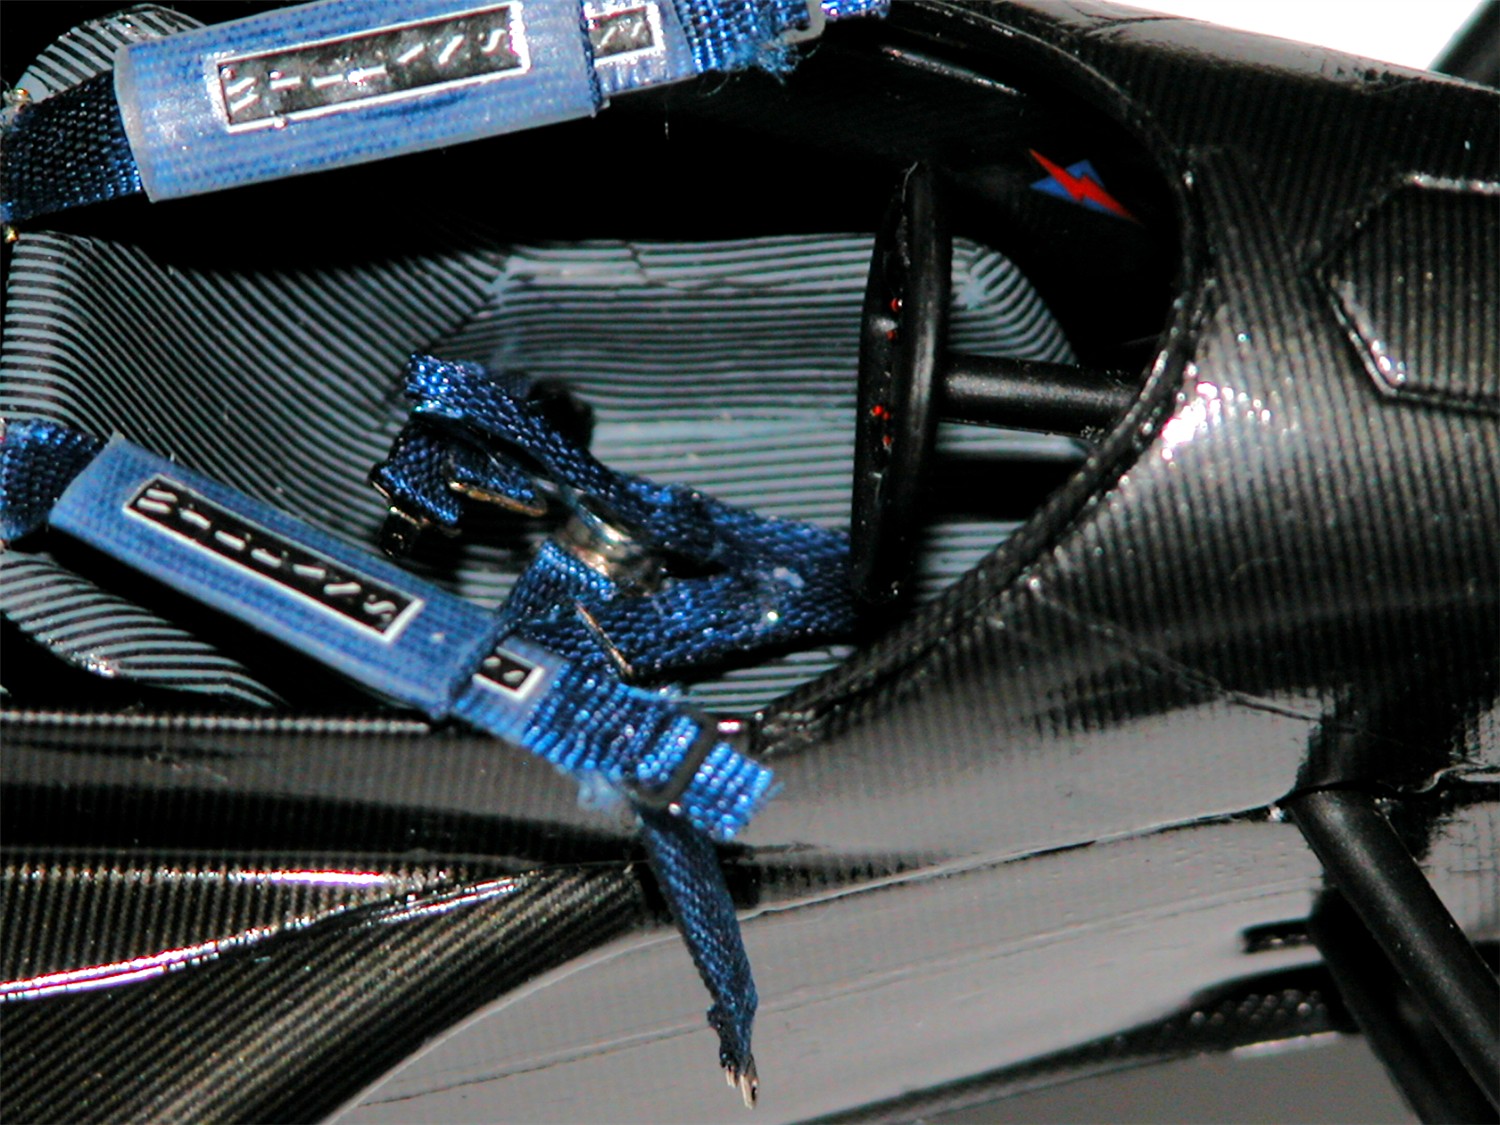
I then started working on the
seat belts. For these I decided to use the "Perfect Parts T2A"
as these have the correct belt buckles. (Be prepared to use a
lot of patience if you have never put a 1:20 set of belts
together.) The main thing is to have a VERY, VERY sharp blade in
your
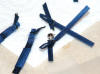 modeling
knife at ALL times or you will get "whiskers". (See the
picture.) The decals for the brand of seat belt are pretty
useless when it comes to applying them. I finished up using a
semi gloss clear coat to apply them. modeling
knife at ALL times or you will get "whiskers". (See the
picture.) The decals for the brand of seat belt are pretty
useless when it comes to applying them. I finished up using a
semi gloss clear coat to apply them.
|
|
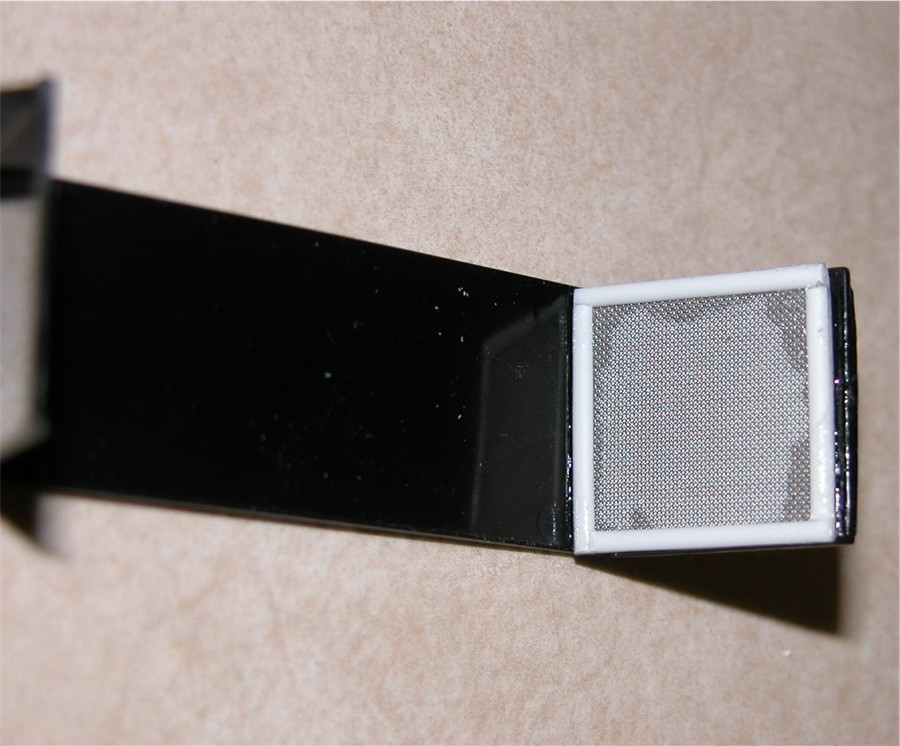
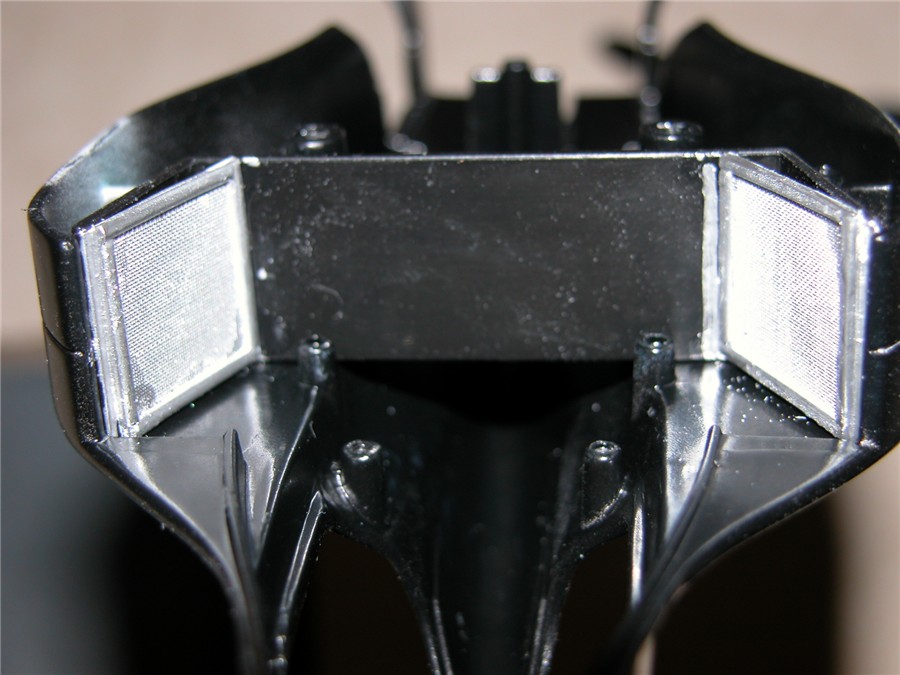
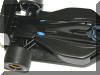
There is not much you can do for Die-cast
models extra detail, so all I did was add some radiators and the red wire
above the head rest, in the air box. For the radiators I used some fine
stainless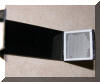 mesh and some half round plastic strips around the edge, then painted them
with Tamiya TS17 gloss aluminum. The detail not too important as
the bodywork is not removable. These were attached to the part in the
bodywork, so when you look into the side pods you see radiators instead of
black.
mesh and some half round plastic strips around the edge, then painted them
with Tamiya TS17 gloss aluminum. The detail not too important as
the bodywork is not removable. These were attached to the part in the
bodywork, so when you look into the side pods you see radiators instead of
black.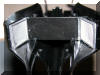
It is basically a case of assembling
everything now. Fitting the seat belt anchors is a bit of a chore
(especially with short stubby fingers like mine) even with tweezers. But
great satisfaction is achieved when done.
 There are still some whiskers on the seat belts,
which will get cleaned up before I send out the model.
There are still some whiskers on the seat belts,
which will get cleaned up before I send out the model.
The cockpit is now taking shape and a
little extra detail was added inside, a decal for electrical.
 You can just see it through the steering wheel. As I said
before the seat belt decals had to be applied with semi-gloss clear coat.
You can just see it through the steering wheel. As I said
before the seat belt decals had to be applied with semi-gloss clear coat.
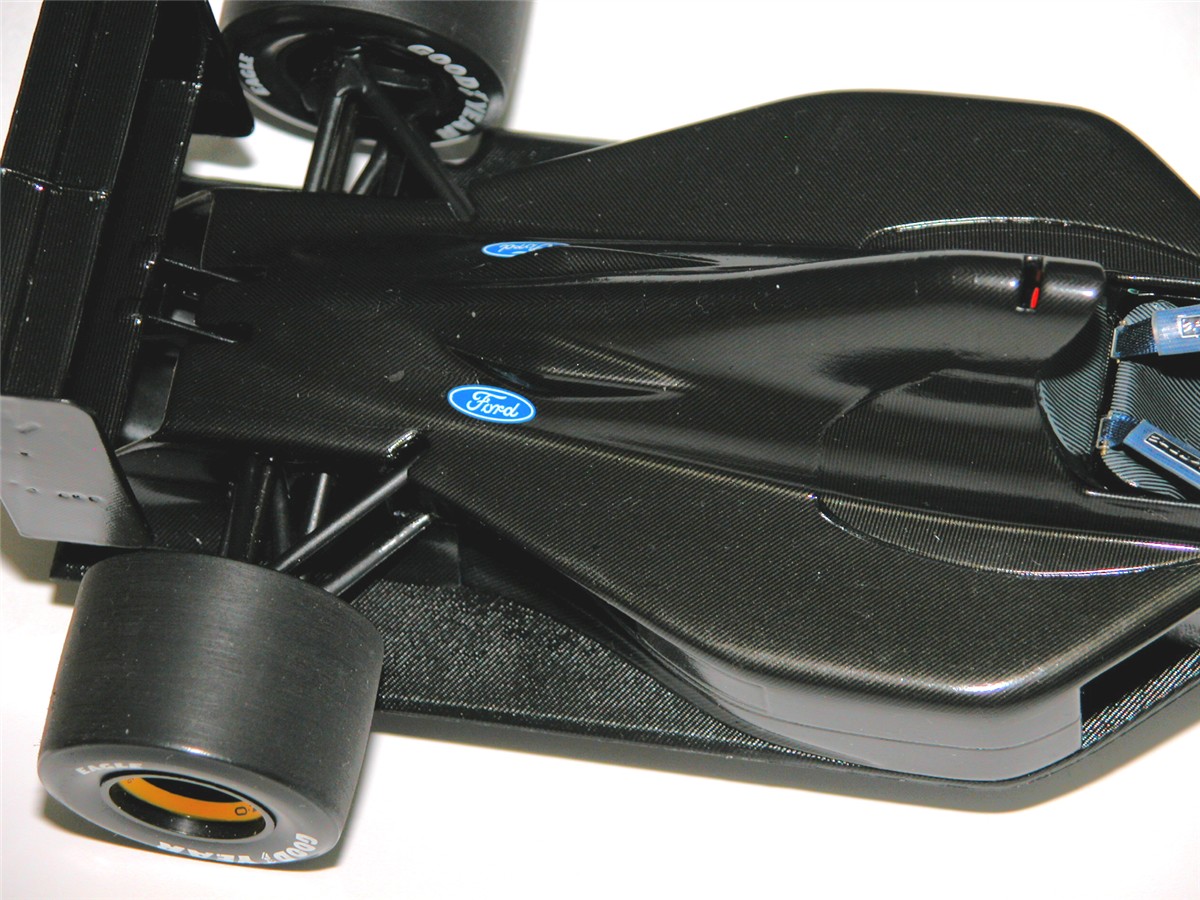
With the car assembled I gave it another
coat of "Future" before applying the final decals.
I am happy with the way
it is looking. I now have to make the "Jordan Grand Prix" decals, as they
don't exist.
I first had to produce the artwork in
the computer. I'm no good with Adobe Illustrator and Vectors. So I have to
create them in MS Picture it! Which is quite an achievement in itself. :)

Starting in Black and White eventually
producing the colored artwork.


I then produced the artwork for the logo
on the side pods.

I have an ALPS printer, which has been
great in the past, but since I upgraded my computer the drivers don't work
well and all the edges are jagged. So I had to try different ways. I
finished up buying another printer. An Epson Stylus Photo R800, but it
still does not produce decals as good as the ALPS did.
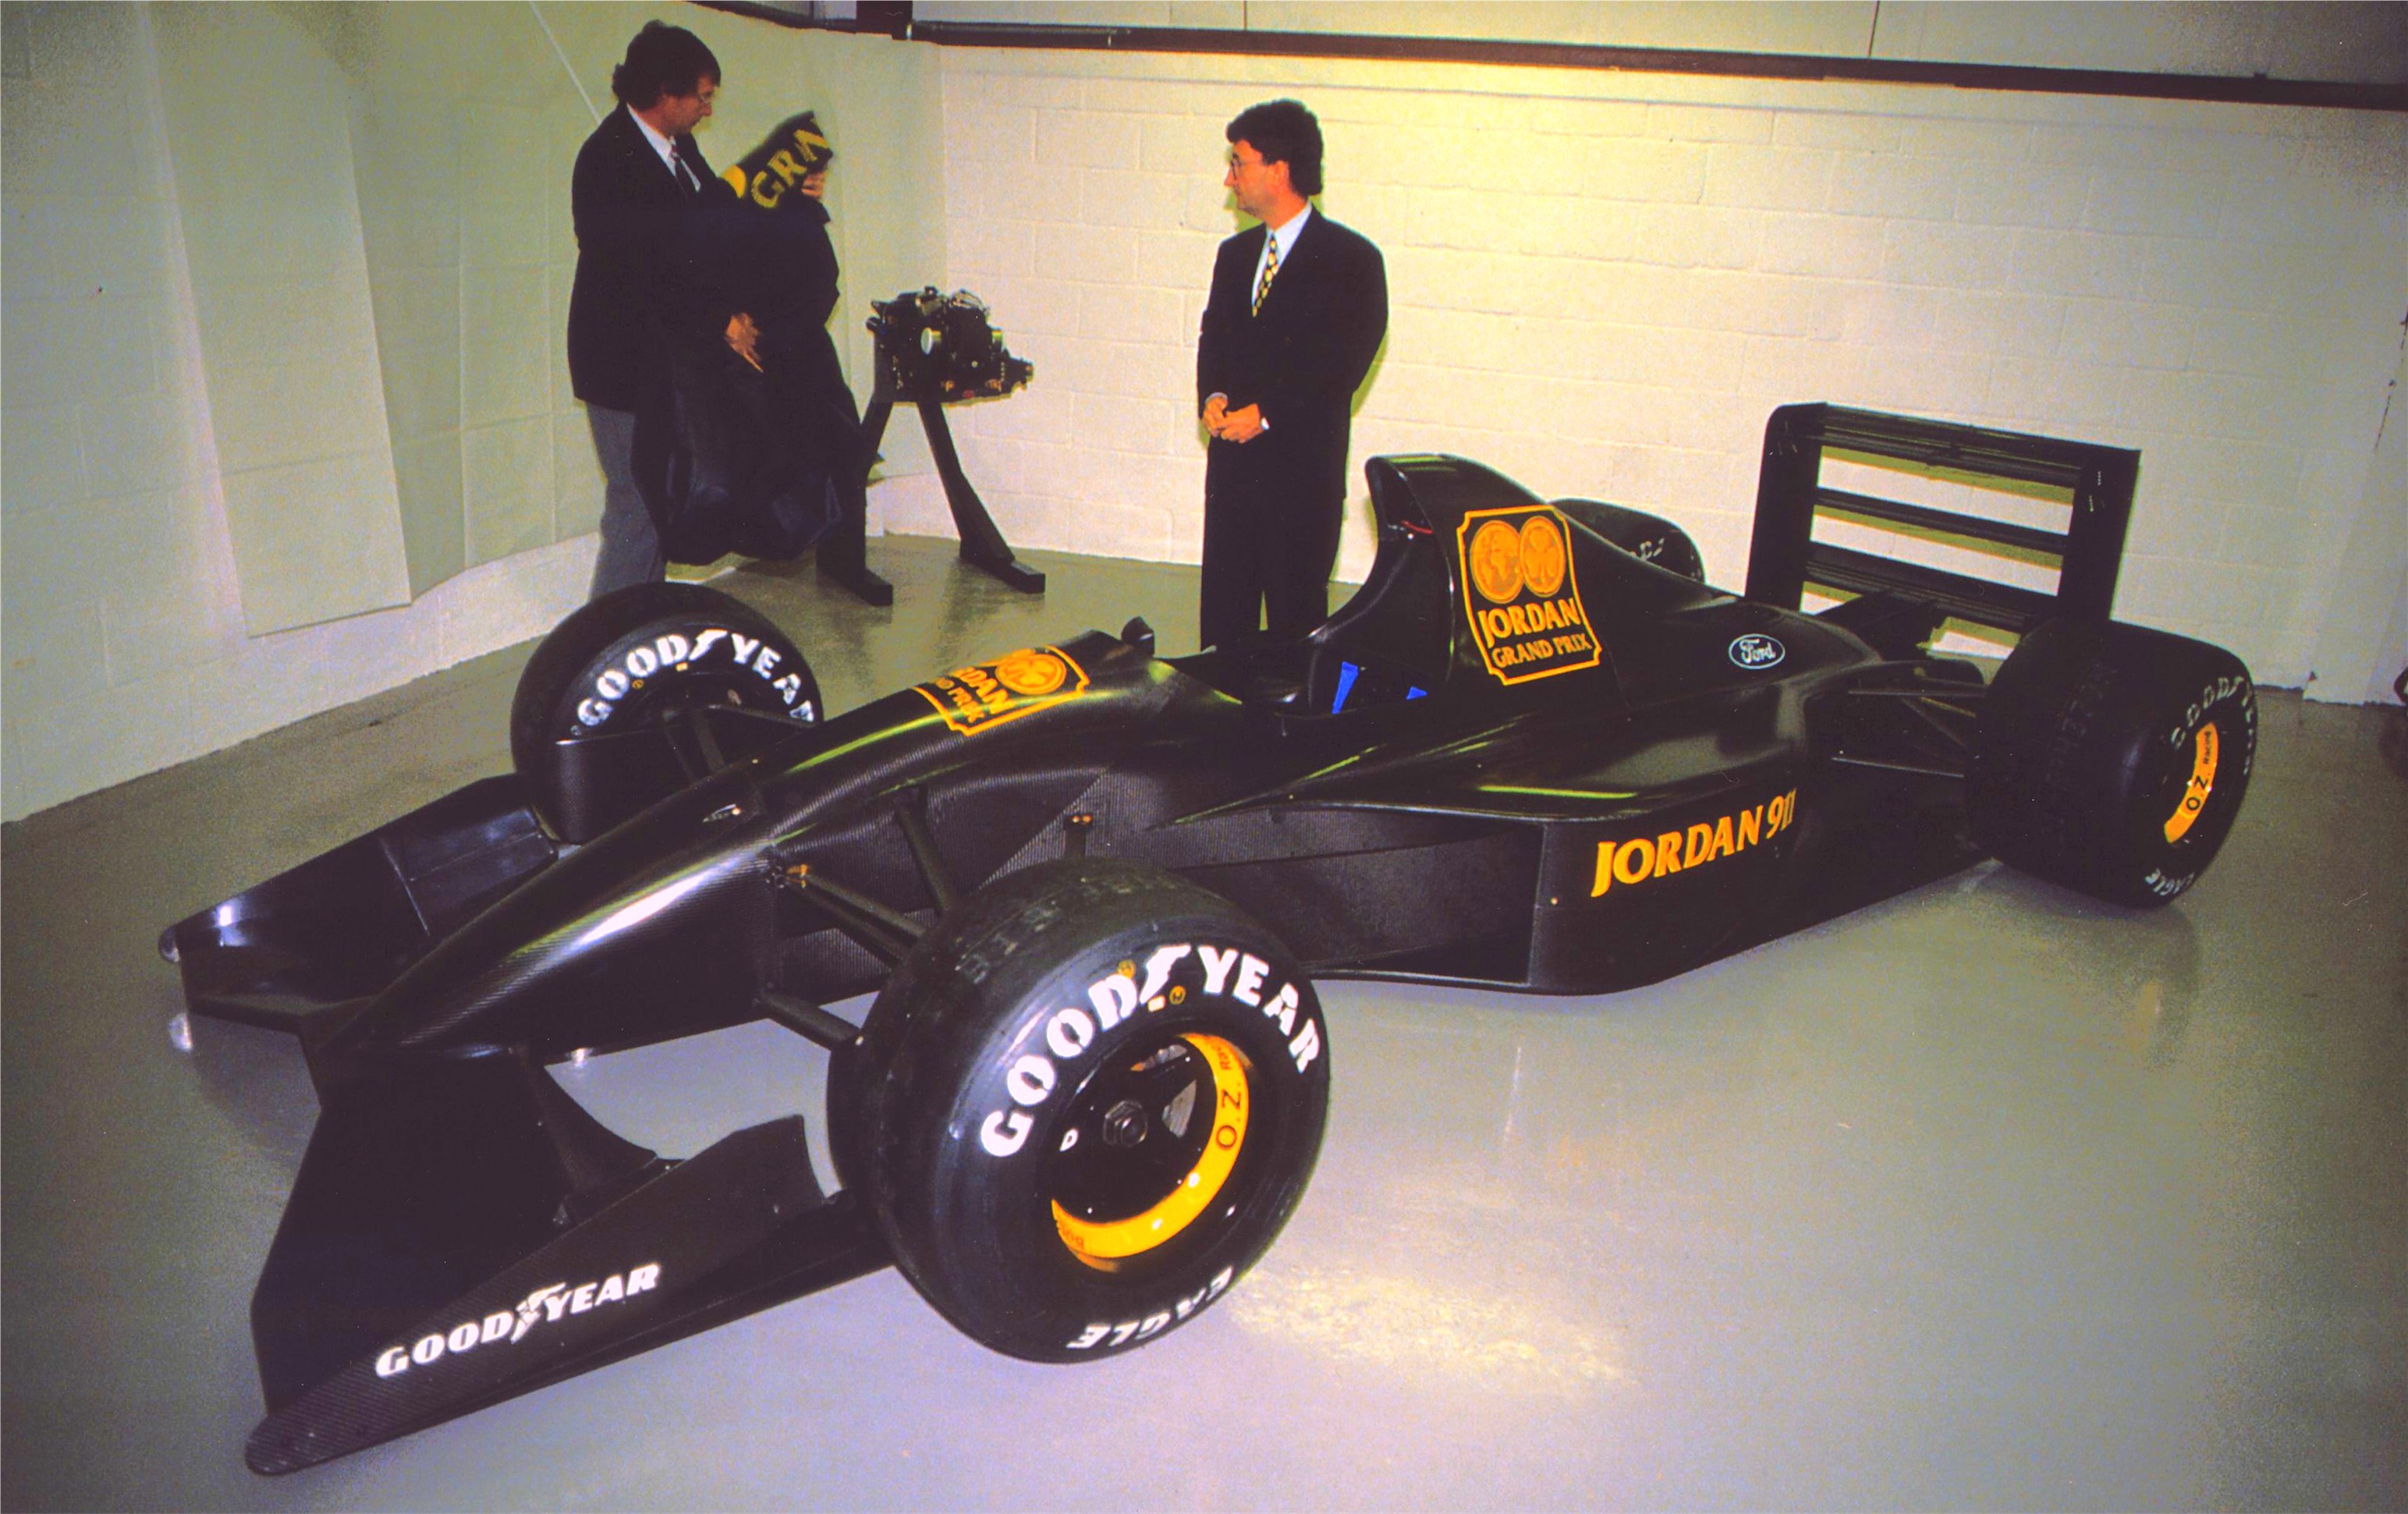
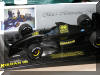
This is how the real car looked on
Launch day.
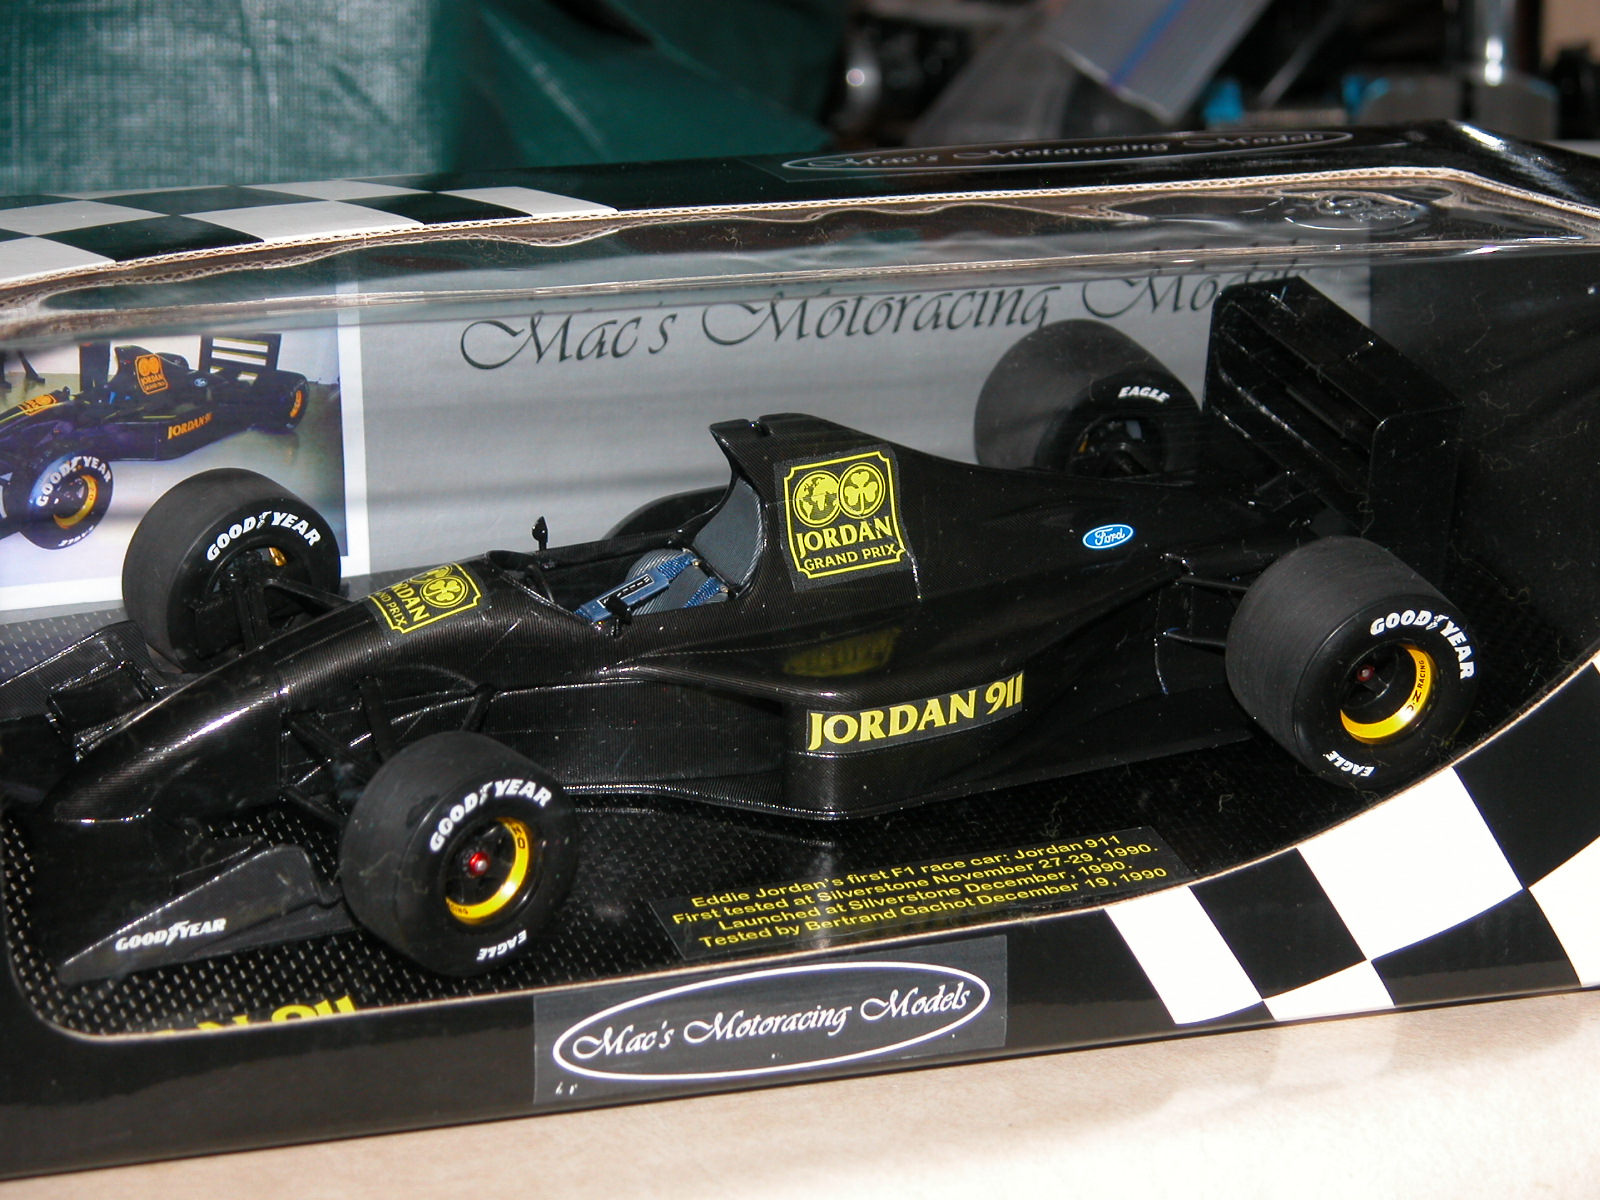
This is how the model looks with the
decals applied.
As I had done so much to change the look
of the car I decided the base and box needed to reflect the changes. I
used some actual Carbon fiber laminate .008" thick on the base and applied
some decals and information to it.
Also I produced a new Cardboard back to
the box showing the car at the actual launch and my Company name.
 This is how the model looked once it was mounted on the
base and Finally ready for packaging and shipping to Ireland.
This is how the model looked once it was mounted on the
base and Finally ready for packaging and shipping to Ireland.
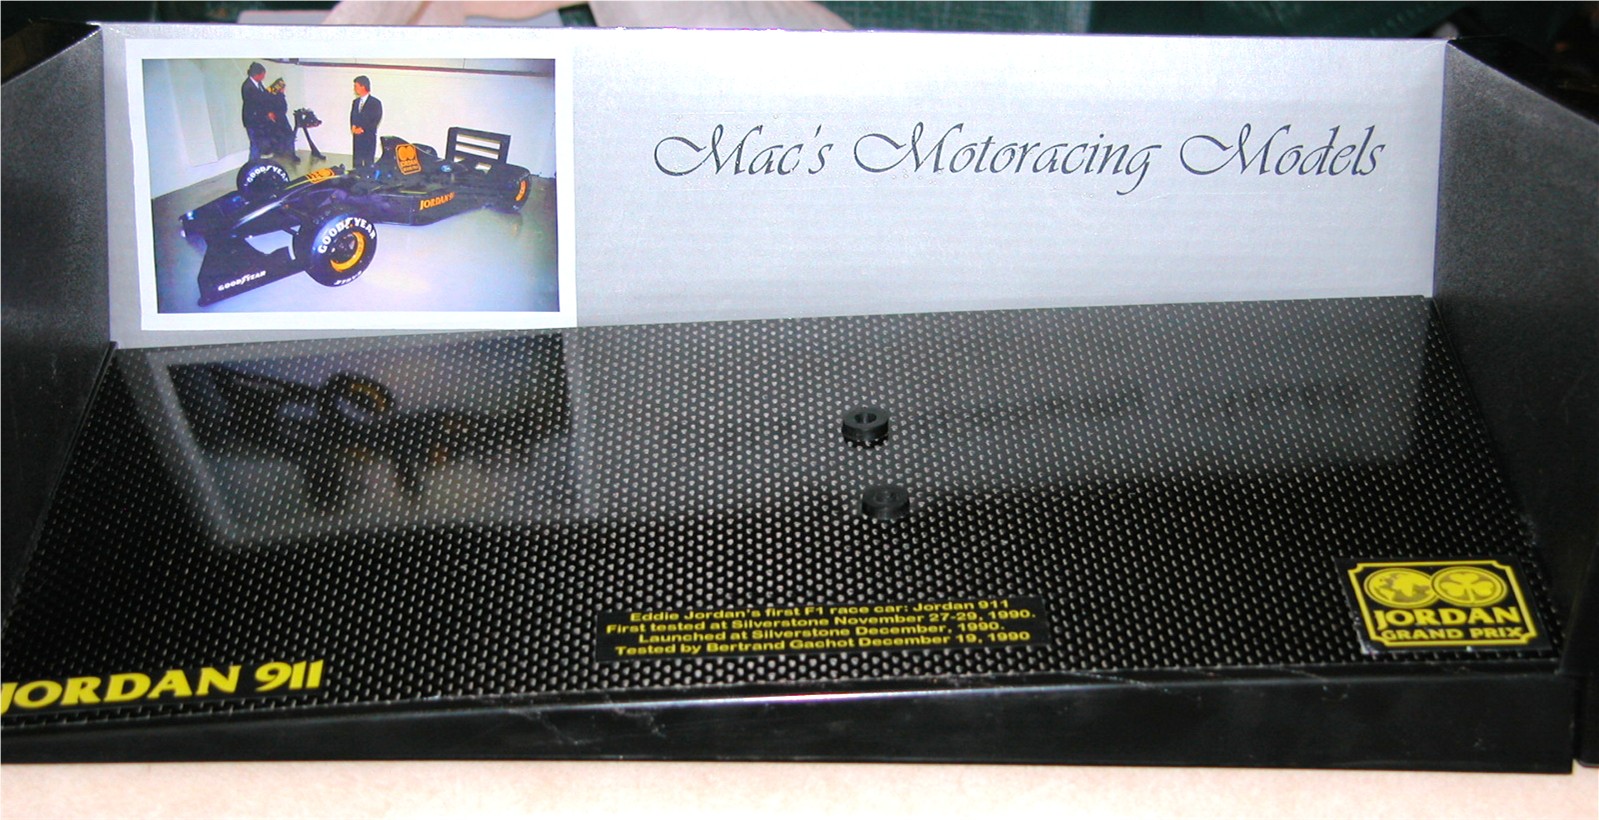
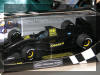 So Mac's Motoracing
Models Limited edition of
1, Jordan's first F1 Car designated 911 in 1:18 scale, now resides in
Ireland, it's homeland if you like.
So Mac's Motoracing
Models Limited edition of
1, Jordan's first F1 Car designated 911 in 1:18 scale, now resides in
Ireland, it's homeland if you like.
I will be
producing a
decal and detail kit for the Tamiya 1:20 version of the 191 to transform
it into this model.
Mac
|